

By Sabina, November 10, 2023 · 3 min read
Creating and publishing your new Shopify Checkout: A step-by-step guide for Shopify Plus merchants
Your Shopify store's checkout process is a crucial element of the customer experience. With the introduction of Checkout Extensibility, Shopify has provided powerful tools to customize and brand your checkout to perfection. In this guide, I'll walk you through the process of creating and publishing your new Shopify Checkout.
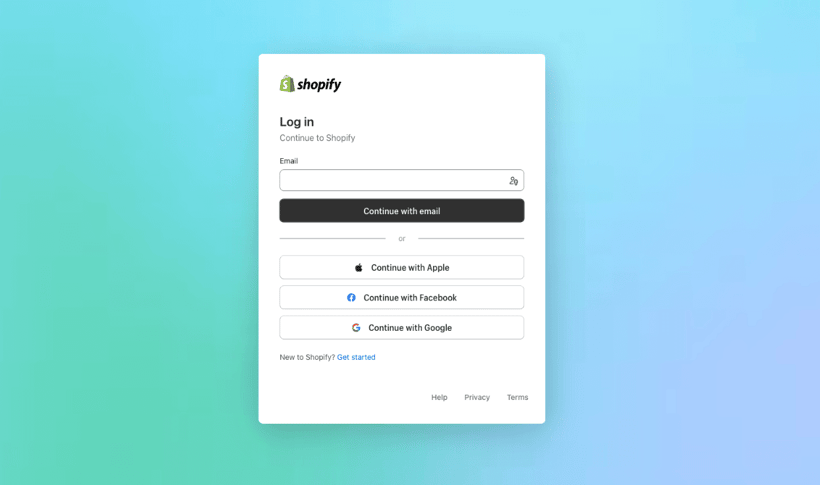
Step 1: Access your Shopify admin
Start by logging into your Shopify admin panel. This is where you'll initiate the process of creating your new checkout experience.
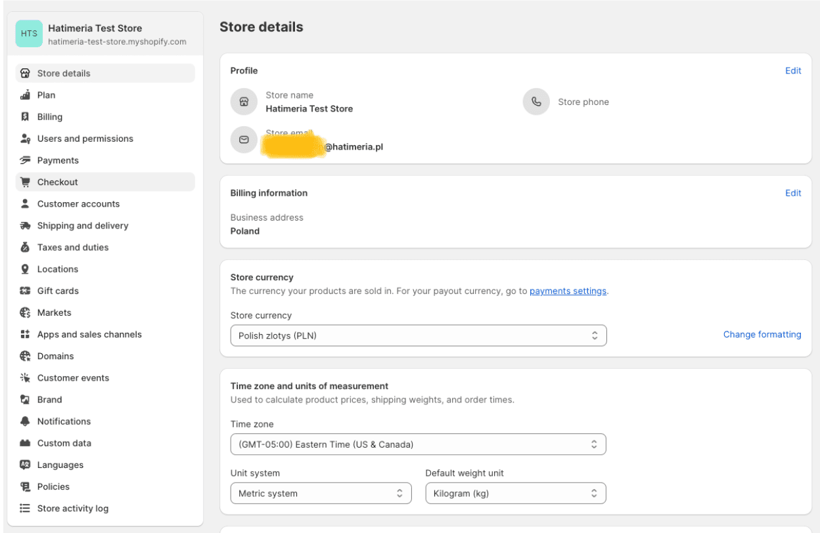
Step 2: Navigate to checkout settings
Once you're in your admin panel, find and click on Settings. From there, navigate to the Checkout section. This is the place where you'll find the options to customize your checkout process.
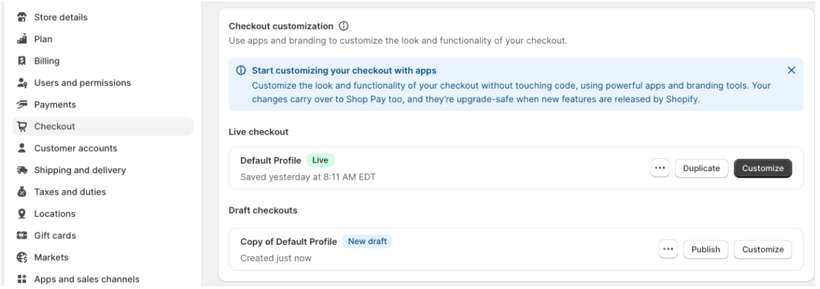
Step 3: Create a draft checkout
Within the Checkout section, locate the list of your previously prepared checkouts and by clicking ‘Duplicate’ create a new draft checkout. Creating a draft checkout allows you to make changes and experiment without affecting your live site. It's a safe space for customization.
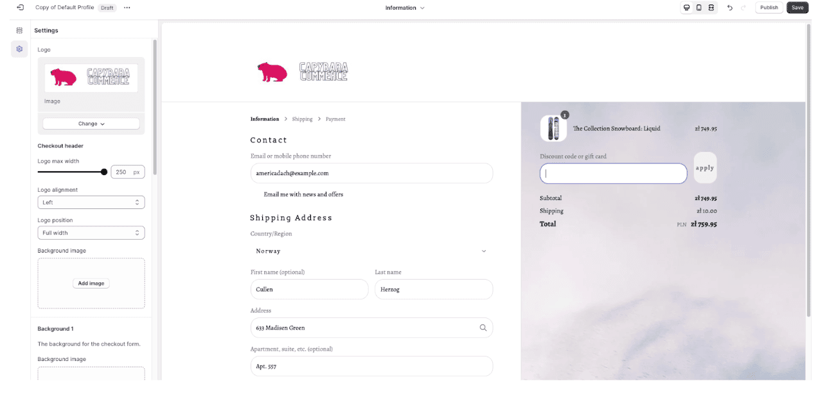
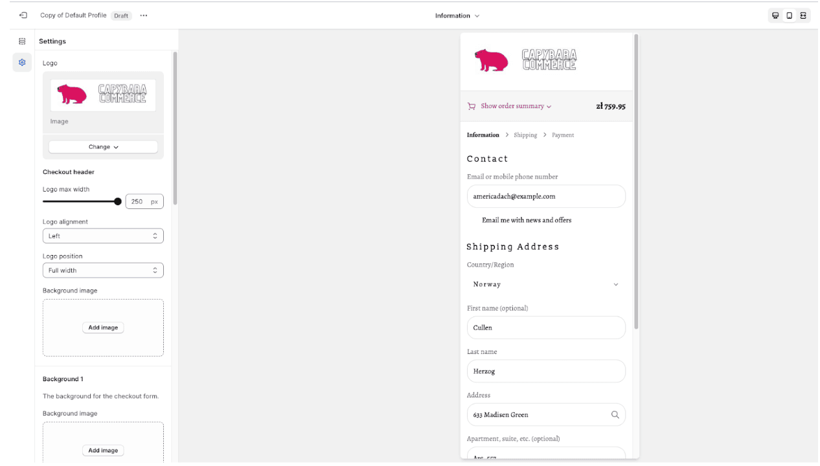
Step 4: Customize your checkout
This is where the magic happens. In the draft checkout, you can add apps and tweak your branding to align with your unique business identity. You have the freedom to make your checkout experience truly yours.
Step 5: Optional - set up Pixels and Functions
Depending on your needs and goals, you can set up Web Pixels or additional Functions to enhance your checkout experience. This step is optional, but can add valuable functionality to your checkout.
Step 6: Review your changes
Before taking your new checkout live, carefully review the changes you've made. Ensure that everything looks and functions as you intended it to.
Step 7: Publish your new checkout
Once you're satisfied with your customizations, and you're confident in the changes you've made, it's time to share your new checkout with the world. Click Publish to make your enhanced checkout experience live.
Step 8: Confirm the change
A pop-up window will appear, confirming that you want to replace your live checkout.liquid customizations with your new setup. Click Publish to confirm this change.
One of the benefits of using Checkout Extensibility is that Shopify regularly introduces new improvements and features. The great news is that your new checkout will automatically receive these updates, ensuring your checkout process remains cutting-edge.
Et, voilà! You've successfully created and published your new Shopify Checkout. With all these powerful features, you can provide a seamless and branded checkout experience for your customers, boosting their satisfaction and trust in your online store. So, go ahead, get creative and optimize your checkout with Checkout Extensibility.
And anytime you have any doubts or questions, feel free to contact us. As an experienced development team, we are more than open to finding the best solution for you and your ecommerce business.
For more inspiration and knowledge, let me direct you to my other materials about the new Shopify Checkout:
and Learn more from the comprehensive video which we've prepared:
Would you like to innovate your ecommerce project with Hatimeria?

She is a vegan software engineer who fuels her coding sessions with leafy greens and oat lattes. She is passionate about both animal rights and writing clean, efficient code. Her ultimate goal is to change the world, one line of code and tofu burger at a time.